Space
Space allow you to organize your Garchi CMS data into separate work areas.
When you first sign up, a default space is created for you. You can then add more spaces as needed.
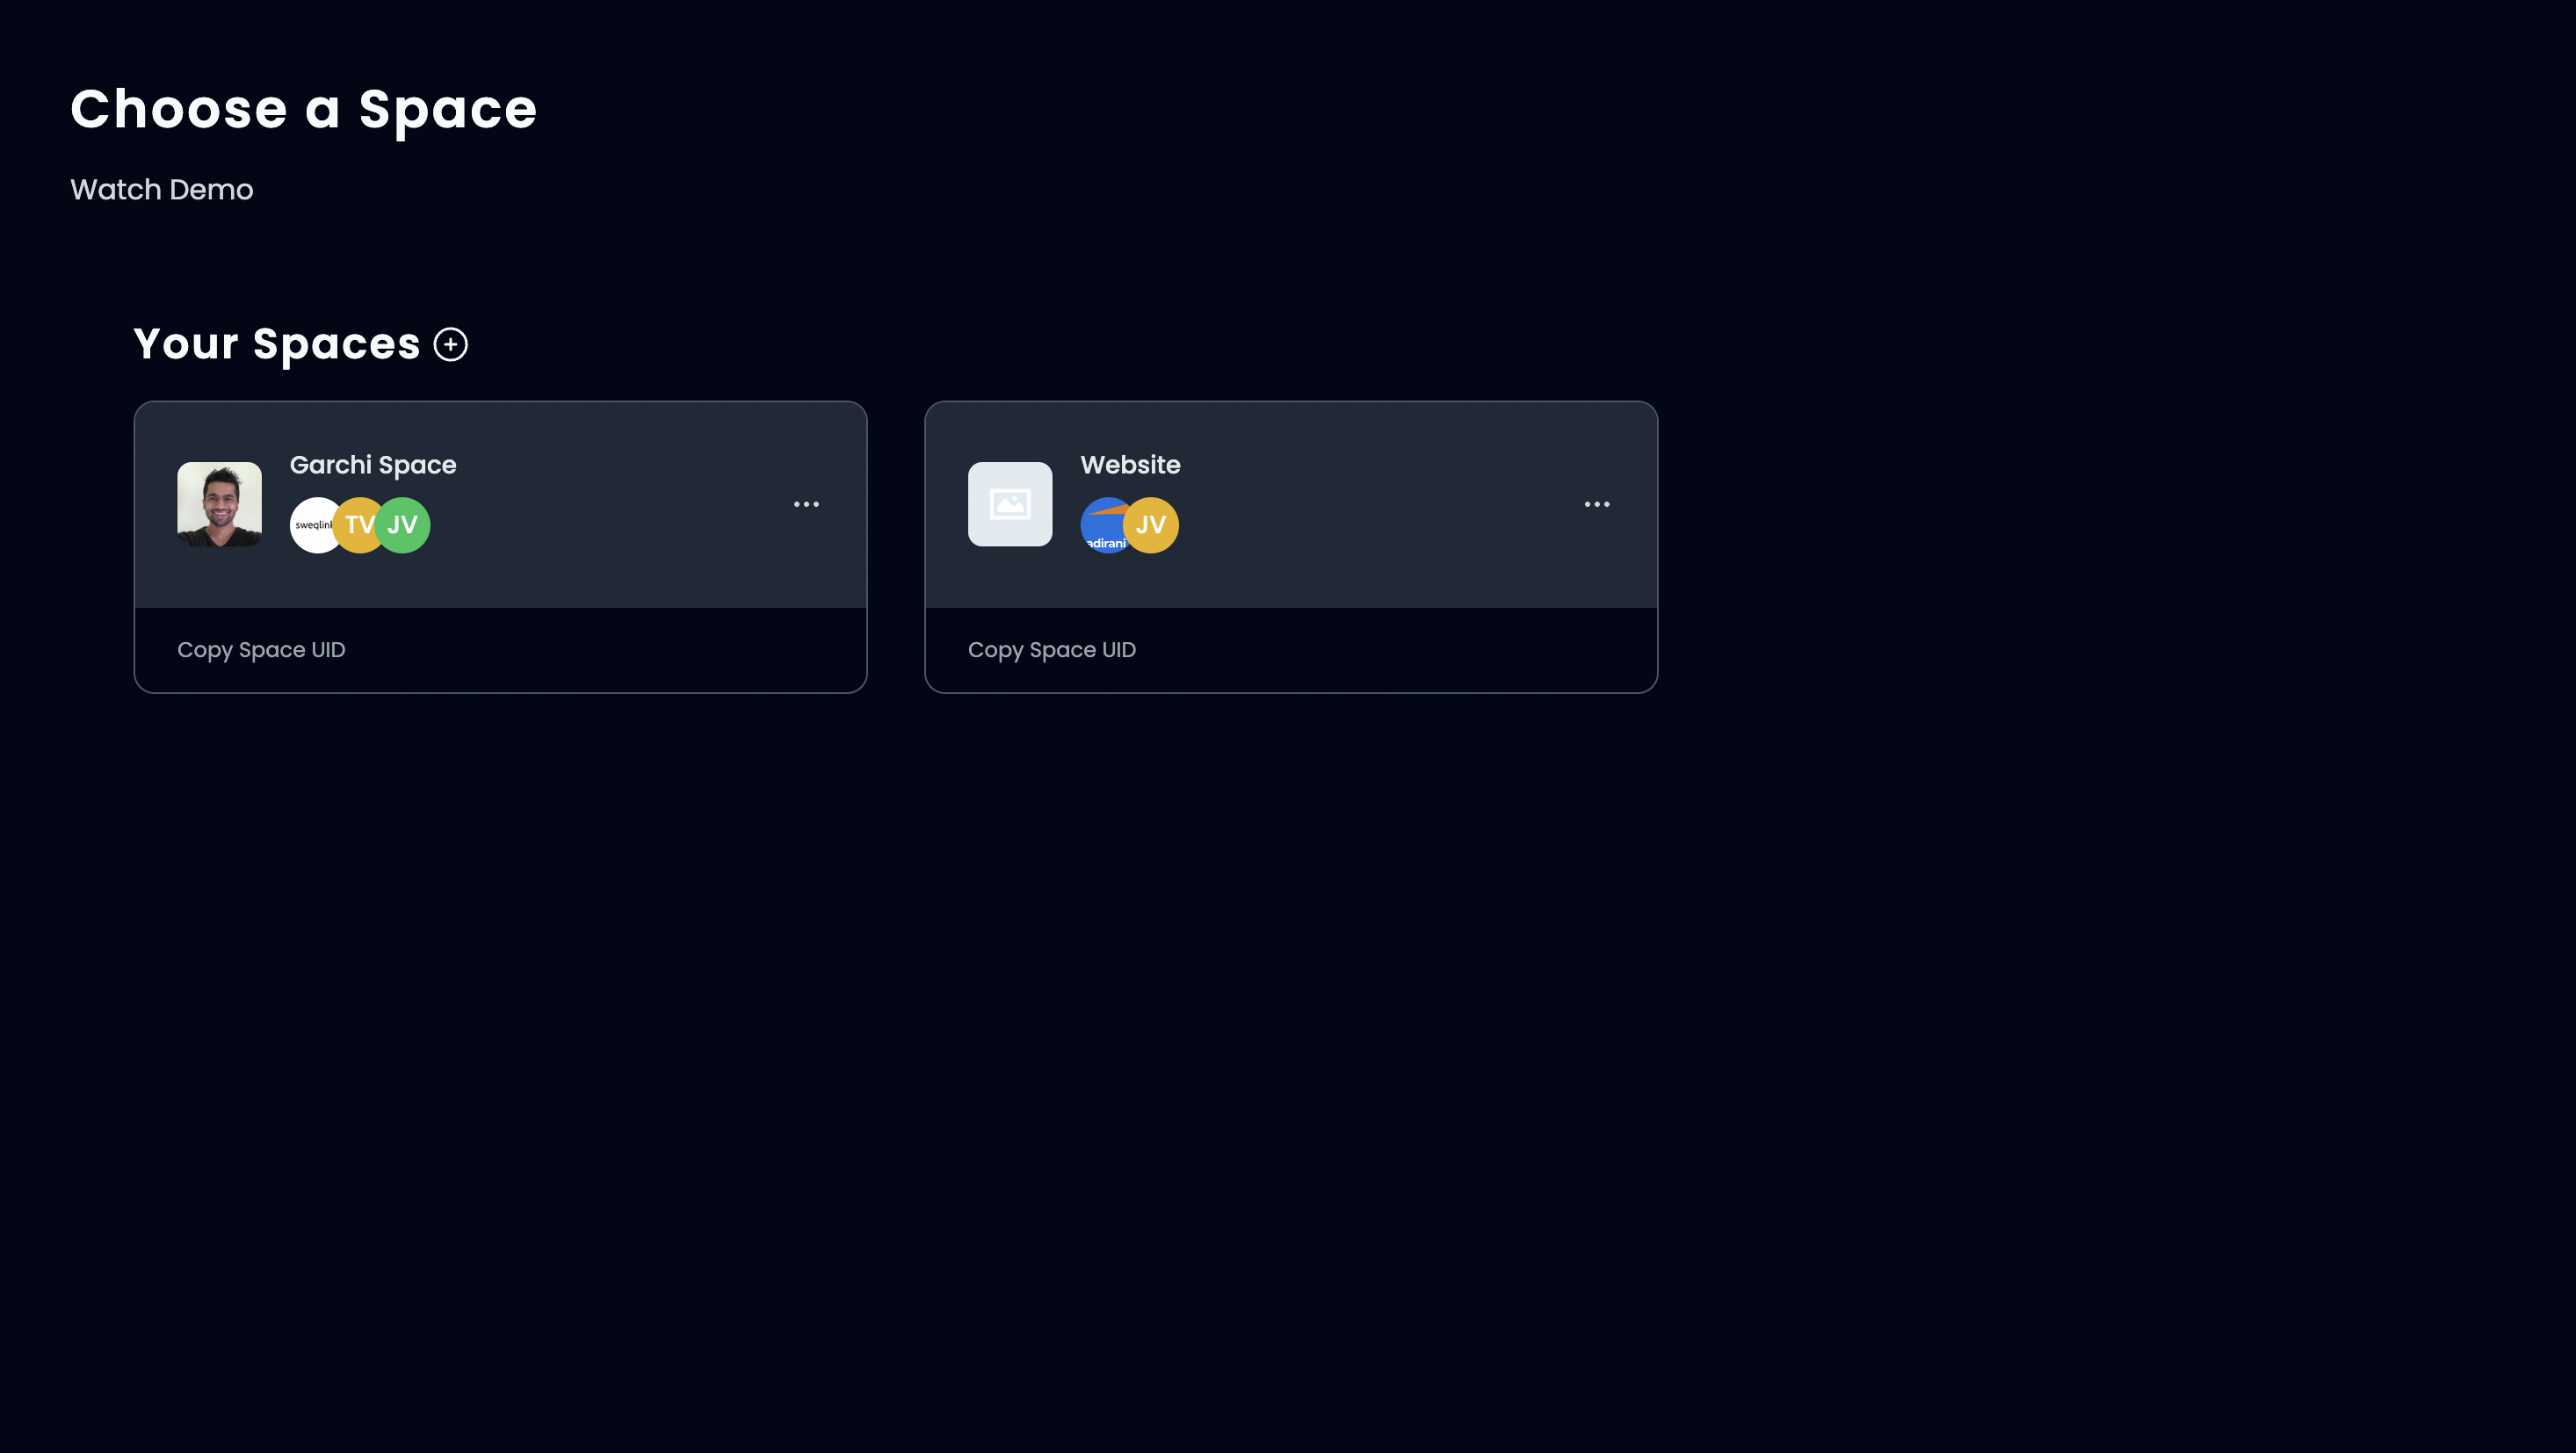
Creating a Space
- Click New Space
- Enter a Space name, such as the website or app the content belongs to
- Optionally add an AI context description, which connected AI tools can use to understand what the Space is for
- Click Create Space
You can also upload a logo for a Space if you wish.
Preview content
Each space has a default generated preview token. To get the preview token visit Space Settings ---> Preview Token.
In the visual editor, preview token is automatically passed along with page path/slug as a query parameter
?preview_token=YOUR_SPACE_PREVIEW_TOKEN&slug=/about
You can use this parameter to handle preview url in your codebase.
See the live editor for connecting your site to the editor.
Editing a Space
You can edit a Space from the three-dot menu on its card.
- Click Edit Space
- Make your changes
- Click Save changes
Adding a collaborator or team member
You can also add collaborators/team members to your space.
- In the sidebar, go to Space --> Team
- Click on Invite Member
- Enter your team member email and click on PaperPlane Icon.
Once your team member accepts the invite their name should appear in the member list.
Collaborating on a space
If you are invited to a space, all your collaborated spaces will appear below your own in the spaces list.
Switching a space
If you have multiple spaces you can switch between them.
- Click Switch space under the space name at the top of the sidebar
- Select a space by clicking on it.
Space UID
When using APIs you might need to pass the space uid. Each space card shows its Space UID underneath the Open Space button — click the copy icon next to it to copy it to your clipboard.
Delete a space
- Open the space by clicking Open Space on its card
- Go to Space -> Settings in the sidebar
- Scroll down to Danger zone. Click Delete Space.
- Confirm your password to delete your space
Tip: Make sure to take Backup of your space data before you delete it.
Leave a Space
- Click the three-dot menu on the Space card
- Click Leave Space and confirm